This is a page explaining a couple of experimental scripts developed for working with enblend masks.
The first script is a simple wrapper, it behaves exactly the same as enblend except that it allows the use of external mask files rather than just internal alpha channel masks. Use of these mask files is automatic, for example: if myfile.tif is an image to be blended, the script looks for myfile_mask.tif and applies this as the mask before blending.
The advantage of having separate mask files is that they are much smaller, they save a lot of space when the image itself can be easily regenerated when needed.
The disadvantage of doing this with a wrapper script is that it uses ImageMagick to perform the image manipulation, ImageMagick doesn't support cropped TIFF offsets, which means that a cropped TIFF workflow can't be used.
Advanced mask manipulation
Having separate mask files allows them to be easily manipulated, the second script here allows you to create masks that not only indicate image areas to be ignored by enblend, but also to indicate areas that must be used without blending.
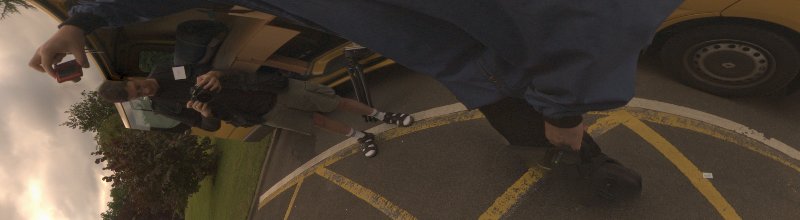
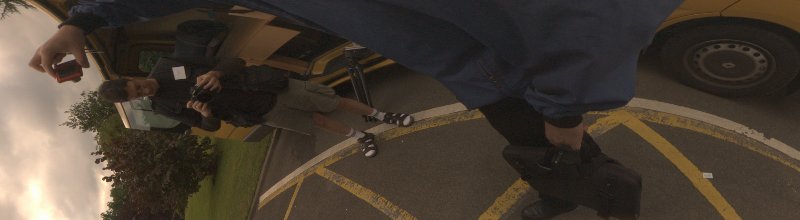
The following set of photos show how this works, these are four images that can be used to assemble a spherical panorama:
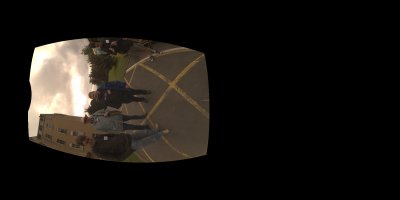
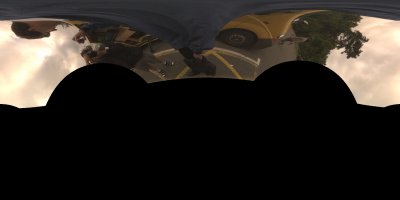

The people in these images move between shots. Without any custom masks, the seam placement results in people chopped in half:

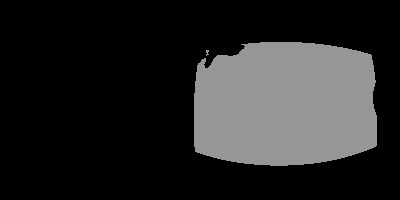
The usual solution is to create a set of custom masks that indicate image regions that enblend should exclude from the final panorama:


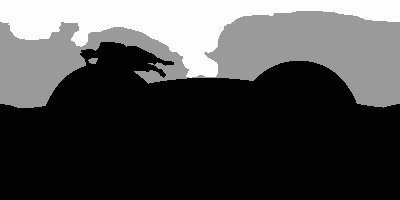
This is better, but the seam placement still isn't ideal. Notice that part of a head is missing to the left and feet are missing at the bottom:
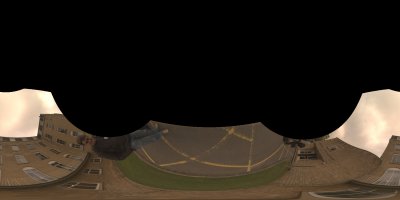
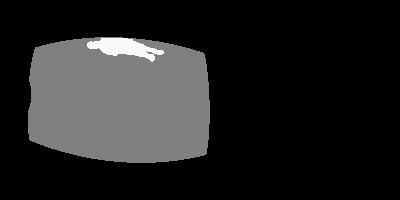
The solution is to be able to indicate in the masks both areas that are to be ignored when blending and areas that must be included as-is without any blending:
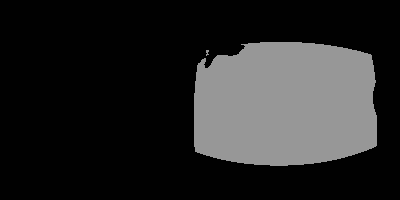

This gives much better results, the seam placement is now under control:
The way this works is that white pixels in a mask are treated differently, this script acts as a pre-processor on the mask files and transfers white areas from one image as black areas in the other images. The images can then be blended as normal.